Taking Grilled Chicken Up a Notch

Preparing chicken can be a tricky task. Sometimes it comes out just a little bit too dry, a little bit too flavorful, or no taste at all. There is a secret to cooking chicken, however, and when you learn this secret, you can easily prepare moist, delicious, and perfectly flavored poultry every single time. What is that secret? Grill your chicken! Grilled chicken cooks to juicy perfection every single time, and it is delicious enough for everyone in the home to enjoy.
It’s not simply grilling chicken that creates the awesome taste. Here we offer a few secrets to preparing delicious chicken every single time.
Tip One: Time it Right
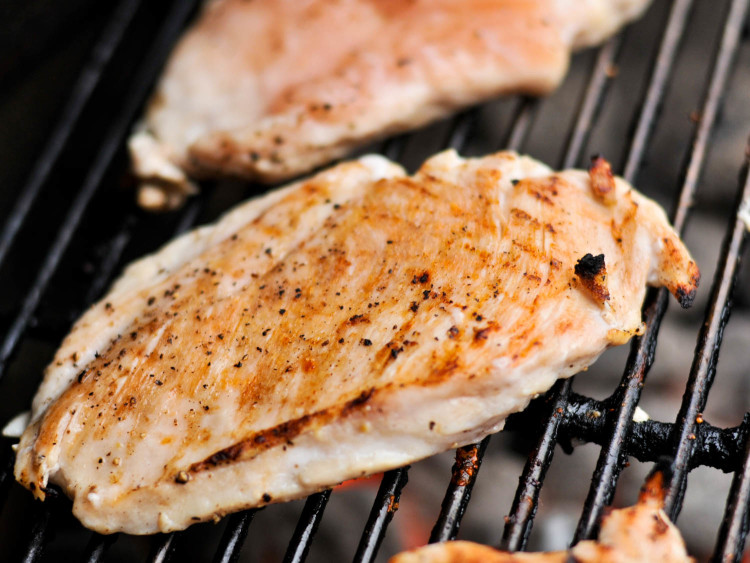
To ensure that your chicken comes off of the grill as moist and tender as you want it, consider the part of the chicken that is being prepared. Since the size of each part varies considerably, you obviously cannot cook them on the grill at the same time and expect them to get done at the same time. Make sure that you research the proper cooking times for each piece of chicken, whether it is the breast, the wing, or something else. Knowing when to take the chicken off of the grill is only one step in preparing chicken, however.
Tip Two: Brining the Meat is an Essential Step
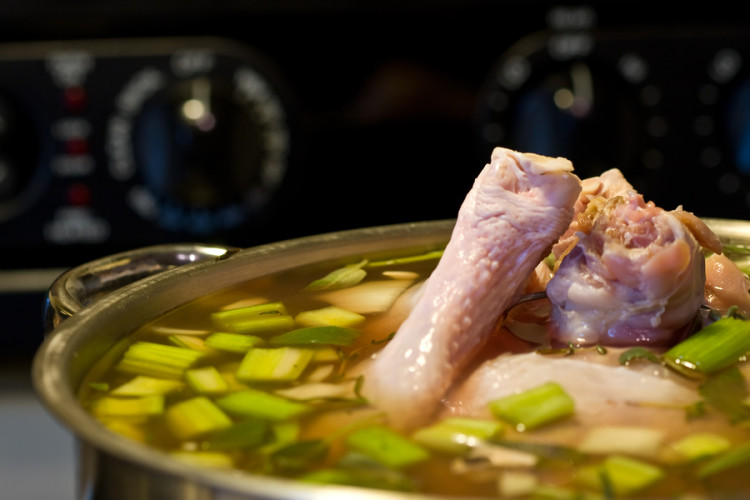
To create the delicious chicken you’ve always wanted (courtesy of the grill, of course) you first need to learn how to brine your chicken. This is one of the most important steps of preparing chicken. You cannot rush perfection, so if you expect that fall-off-the-bone meat you must not leave out the brining process.
Composed of salt, sugar, and water, brine is used to draw moisture away from the chicken and replace it with the water surrounding it. This process replaces any moisture that the chicken has lost. The sugar in the mixture enhances the salt mixture. Once you add your herbs and spices to the chicken, you’ve created an irresistible piece of chicken ready to put on the grill.
Salt and marinades are often used for chicken cooked on the grill, so why not just stick to this technique over brining? Well, when you put the chicken on the grill, the salt isn’t going to cook into the chicken. However, that is not the only advantage brining brings your way. When you brine, the result is thoroughly cooked chicken every single time. The brining process is quite lengthy, however, so prepare ahead. Generally speaking, you should opt for four to six hours of brining.
Marinades are very flavorful and enjoyable, and you might be surprised to learn they work in the same manner as a brine. So why not just use a marinade? Well, there is a big difference in the two. Marinades often contain an overload of sugar, additives, and other ingredients. These things affect the flavor and taste dramatically. If you want to create your own marinade, it will take additional steps, but it will make brining perfect when you don’t want to spend all day and night on the grill.
Tip Three: Proper Temperature
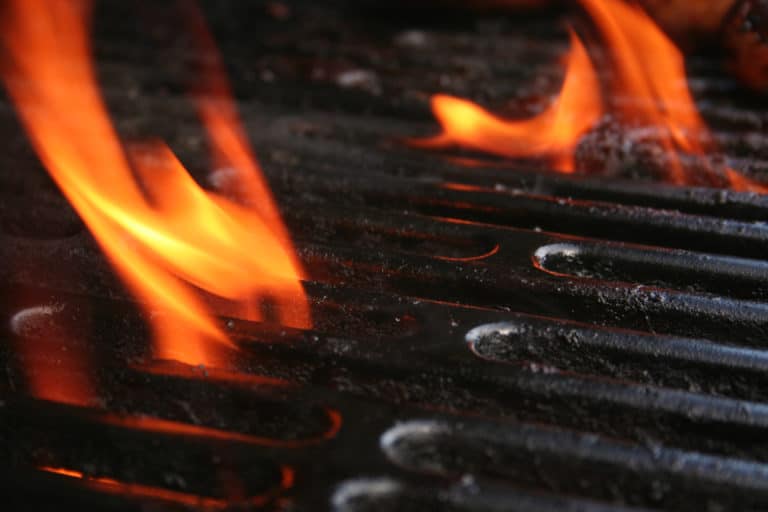
After you have brined the chicken, and it is ready for the grill, it is important that you heat the grill to the proper temperature and cook it to perfection. Preparing the grill is very important. To do this, place the coals on one side, and then place the chicken on the opposite side away from the coals. Add smoked wood to the top of the coals and you’ll give the chicken an awesome smoky flavor. The target temperature for the grill is about 300 degrees.
Since the thighs have the most fat, they will take the longest to cook. Give these about ten minutes with the grill lid closed, and then place the breasts on the grill, close the lid, and cook for ten more minutes. Legs and wings go on next, for about 5 minutes with the lid closed. Continue to cook the chicken until the mayonnaise melts off and chicken reaches an internal temperature of 120-130 degrees. This will typically take approximately an hour and 20 minutes at 300 degrees, but it can vary by grill temp and chicken size, so do check periodically after about an hour. Once the chicken is at that 120-130 degree point, transfer it to the side right over the coals to brown it up a bit. Once you’ve browned it up, transfer it over to the side opposite the coals again, and you can flavor it up even more with some of your favorite barbecue sauce. You can also add more wood to the coals to infuse the barbecue sauce with a deep, smoky flavor.
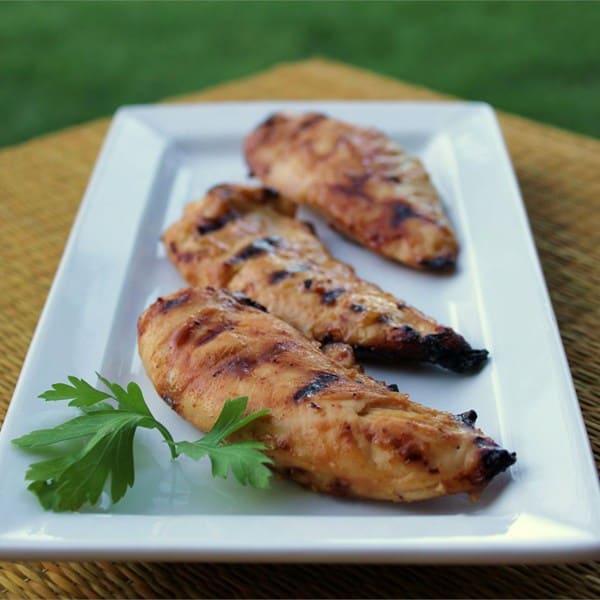
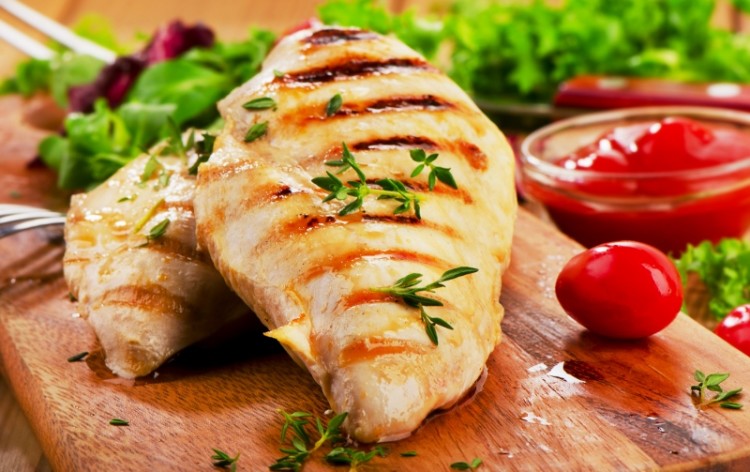
Continue to cook the chicken to a temperature of 165 degrees, remove from the heat, and then let it rest a couple of minutes. Your finished chicken should be juicy and sweet from the apple cider brine; the skin should be caramelized, smoky, and amazing!
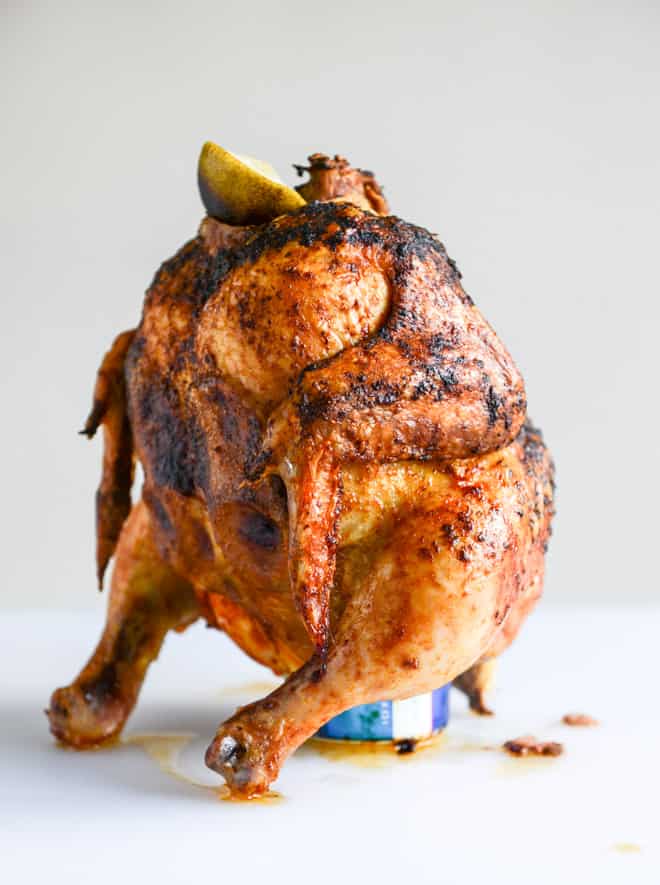
Tip Four: Steam your Chicken
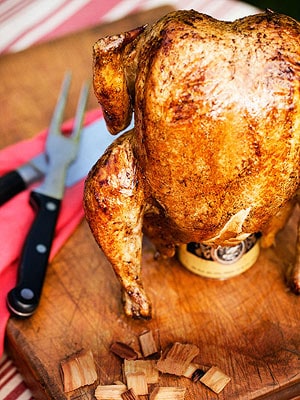
No, this is not a misprint. Although you might not think that grilling and steaming go hand in hand, they certainly work well with one another. You can add any liquid to the inside of your chicken (if cooking a whole chicken) to keep it moist on the inside.
Tip Five: Use Oil & Close the Grill
Brushing the grates of the grill with a light coat of oil before you start the heat is another great way to ensure that your chicken doesn’t stick and comes out with the best taste possible. Also, remember that you should cook the chicken with the grill closed. When you cook the chicken with the grill closed, you will maintain the moisture inside of the grill while also ensuring even cooking all the way through the meat.
Tip Six: How will you lay your Chicken?
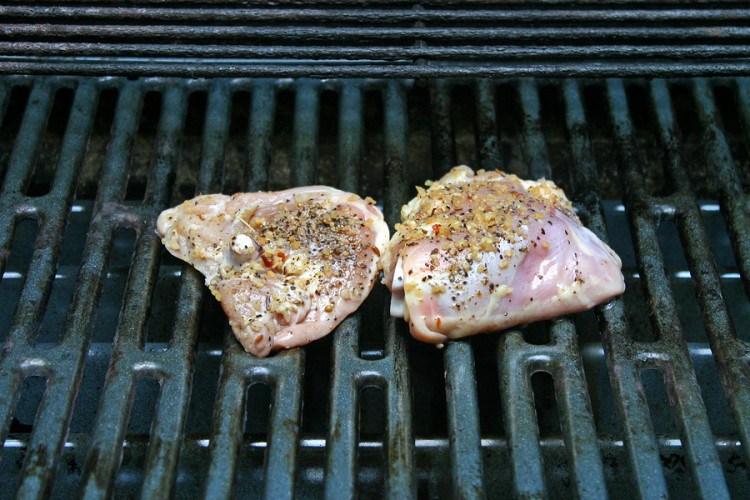
We mentioned early the importance of properly spacing your chicken on the grill so that it can cook evenly. Now, for our final tip, we’ll let you in on another grilling secret of the pros: You need to start with the right side of the meat. For example, if you are cooking breasts on the grill, you want to begin the grilling process with the backside of the bird up. This will prevent the breast from drying out and will also prevent it from overcooking. Dark meat should be laid skin down and should be placed on the grill first, since they take less time to cook. You should give the dark meat a head start of about ten minutes before the white meat is placed on the grill.
Final Thoughts
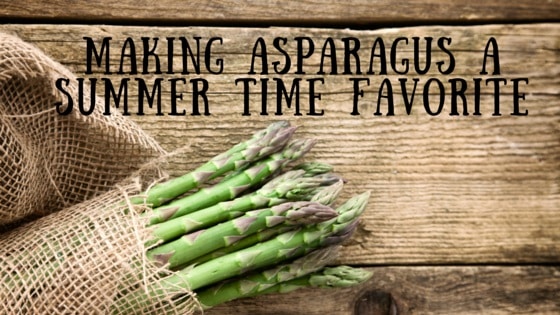
Summer is in full swing, so there is still plenty of time left to put these tips to good use and create the best tasting grilled chicken you’ve ever tasted. We all know that grilled chicken is one of those summer staples that we can’t get enough of – especially when it tastes so great! These are all simple, easy tips that anyone who grills can use, so do not miss out on the chance to experience grilled chicken in a whole new way. You’ll be grateful you found these awesome tips after just one bite of your new tasty chicken.